
By the time you reach Step 5 of the Deadman Mode Annihilation route, your early-game foundation is already solid. You’ve secured safe points, built early levels, and kept risk under control. Now it’s time to pivot into one of the most efficient multi-purpose stages available early on: the Port Sarim Charter Route, combined with rapid Cooking power leveling.
This step may look simple, but it stacks value fast. You’ll gain nearly 200 Annihilation Points, secure important Crafting supplies, and push Cooking to level 30 in minutes-all while staying in relatively low-risk areas.
If you care about momentum in Deadman Mode, this is where you press the advantage.
Why Step 5 Is So Efficient
Port Sarim is a Deadman Mode staple for good reason. It offers:
·Easy access to charter ships
·Multiple diary-style tasks
·Extremely fast Cooking training
·Minimal Wilderness exposure
·Convenient deposit access
When you combine travel, shopping, leveling, and diary tasks into one clean loop, you eliminate downtime. That’s the core principle of successful Deadman routing: stack progress wherever possible.
Step 1: Chop Three Logs on the Way
As you head south toward Port Sarim, chop three regular logs from nearby trees.
Why only three?
Because in Deadman Mode, speed matters more than over-preparation. These logs will support early Firemaking and Cooking utility, and they’re required for future route steps. Grab exactly what you need and move.
Standing still too long early in a tournament is how you get caught.
Step 2: Charter Travel with Veos
Once at the docks, speak to Veos and choose to travel to Land’s End.
Reward: 15 Annihilation Points
This is one of the easiest early charter-related point tasks available. It takes seconds and exposes you to almost zero risk.
More importantly, it familiarizes you with charter navigation-a tool that becomes increasingly valuable as the route expands.
Step 3: Buy Charter Ship Supplies (Future Crafting Setup)
At Land’s End, access the Charter Ship shop and purchase:
·50 Buckets of Sand
·50 Soda Ash
·Glassblowing Pipe
·1 Swamp Paste
These items are critical for future Crafting training. Charter ships offer them at prices that are far more efficient than alternative methods.
Buying them now:
·Saves future travel time
·Locks in lower early-game costs
·Prepares you for fast Crafting power leveling later
Many experienced players also monitor market trends during Deadman. Having early access to materials can reduce reliance on inflated mid-tournament prices. Some players supplement their supply needs with affordable OSRS gold to stay competitive when demand spikes. Others choose to buy OSRS items directly to skip gathering bottlenecks and keep their progression clean.
The key is efficiency. Whether self-sufficient or market-driven, eliminate friction.
Step 4: Clean Your Inventory
Use the nearby deposit box and store everything except:
·GP
·Logs
·Tinderbox
·Staff
A clean inventory reduces risk and keeps you flexible for fast movement. Sloppy inventory management leads tohesitation, and hesitation gets punished in Deadman Mode.
Step 5: Entrana Round Trip Diary Task
Return to Port Sarim and board the ship to Entrana. Immediately travel back.
Reward: 15 Annihilation Points
This diary-style task is extremely quick and often overlooked. It requires:
·No combat
·No gear
·No supplies
Just clean execution.
These micro-objectives are what separate efficient players from chaotic grinders.
Step 6: Sardine Cooking Power Level (1-30 Fast)
Next, head to the Fishing Shop in Port Sarim and purchase raw sardines.
Why sardines?
·Extremely cheap
·Very fast cooking cycles
·Low consequence for burning
·Perfect for rapid drop training
Stock up enough for several uninterrupted minutes.
Then find a nearby range or light a fire and begin cooking and dropping sardines until you reach approximately level 30 Cooking.
Reward: 145 Annihilation Points
This is one of the strongest early-game XP spikes available in the Annihilation route.
You don’t bank the fish. You don’t overthink it. You cook, drop, repeat.
Reaching level 30 Cooking early unlocks better food options and supports future diary requirements. It’s a short grind that pays long-term dividends.
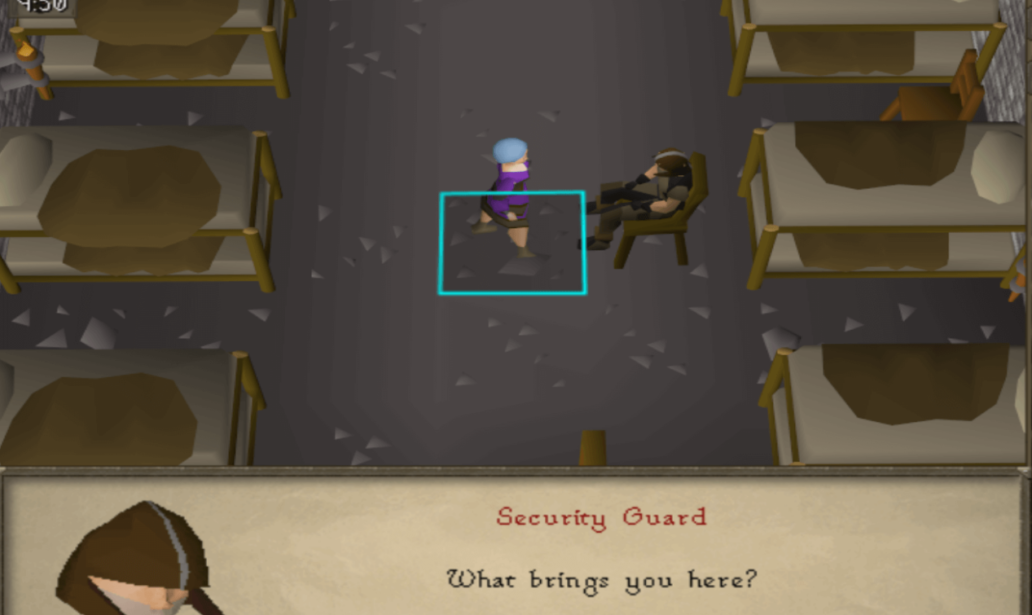
Step 7: Port Sarim Jail Task
Head to Port Sarim Jail and go upstairs. Speak with the guard and continue the dialogue until you receive a book.
Reward: 15 Annihilation Points
No combat. No risk. Instant value.
This fits perfectly into the loop and rounds out your Port Sarim checklist.
Total Gains from Step 5
If executed efficiently, this stage provides:
·Nearly 200 Annihilation Points
·Around 30 Cooking levels
·Critical Crafting supplies secured early
·Multiple diary-style completions
·Zero mandatory PvP exposure
That’s a massive return for a relatively short investment.
Staying Competitive as Deadman Escalates
As Deadman Mode progresses, raw grinding becomes less effective than smart routing. Players who stay ahead manage:
·Travel efficiency
·Risk exposure
·Resource acquisition
·Market timing
Some competitors choose to maintain flexibility by securing additional OSRS gold early so they can respond to gear losses or supply shortages quickly. Others strategically buy OSRS items to fast-track upgrades before PvP brackets tighten.
The lesson isn’t about spending-it’s about eliminating friction. Deadman punishes slow recovery. You want options.
Final Thoughts: Clean Execution Wins Tournaments
Step 5 of the OSRS Deadman Mode Annihilation route is a perfect example of layered efficiency. You’re not just training in Cooking. You’re stacking points, preparing Crafting supplies, completing diary objectives, and reinforcing travel routes-all in one compact sequence.
Execute this step cleanly. Don’t linger. Keep your inventory tight.
With Cooking at 30, Crafting materials secured, and nearly 200 points gained, you’re positioned to transition into higher-risk, higher-reward content while others are still stabilizing their early game.